Creating a MySQL database in cPanel is helpful for web developers managing large amounts of data for their websites and applications. The process is simple and essential to the development of database-intensive projects.
To create a MySQL database in cPanel, follow these steps:
1. Access cPanel:
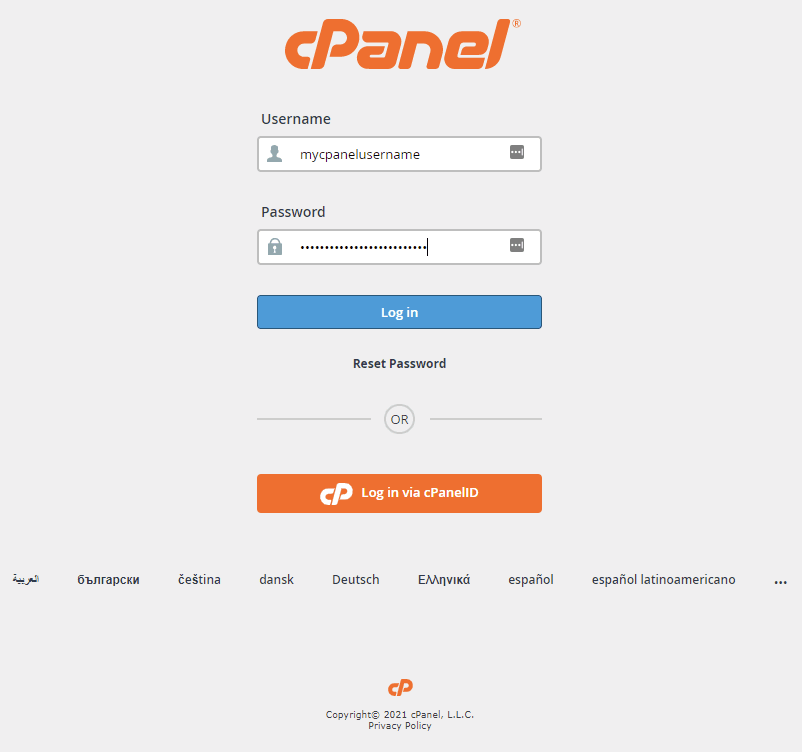
Log in to your cPanel account provided by your web hosting provider.

2. Locate "MySQL Databases":
In the cPanel dashboard, find and click on the "MySQL Databases" icon or link. It's usually located in the "Databases" section.

3. Create a New Database:
- Under the "Create New Database" section, enter a name for your new database in the "New Database" field. This name should be unique and descriptive.
- Click the "Create Database" button.

4. Create a Database User:
- Scroll down to the "MySQL Users" section.
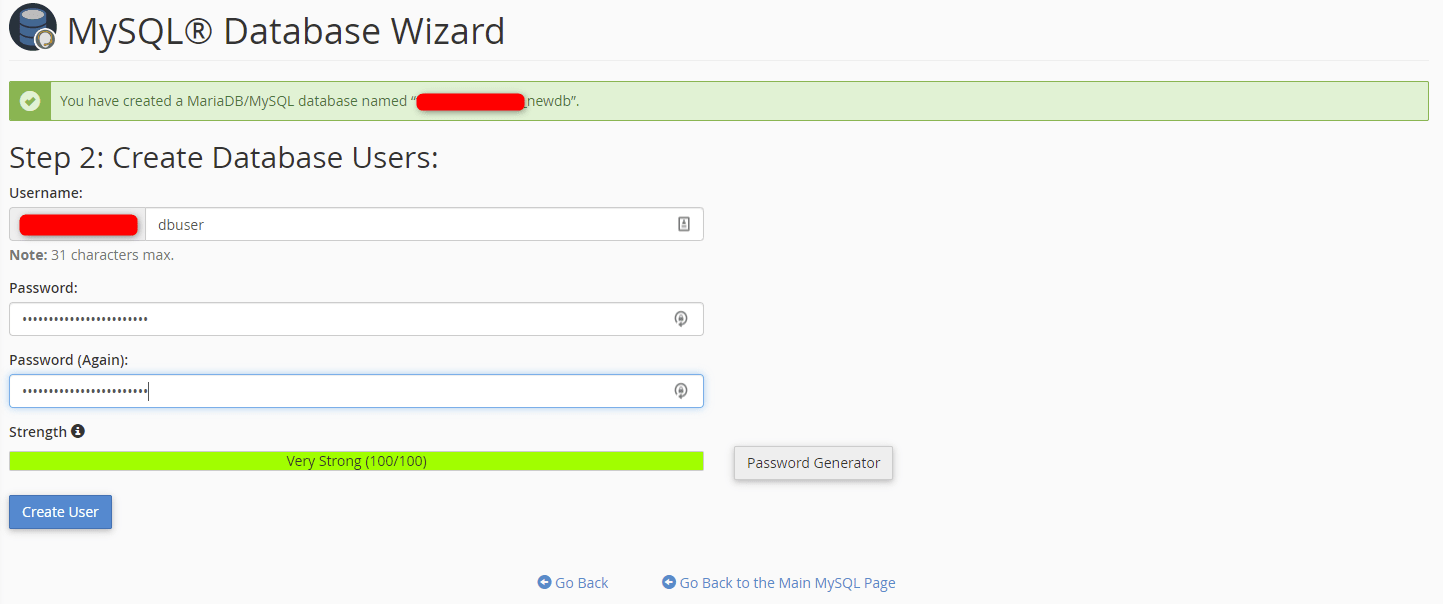
- In the "Username" field, enter a username for the new database user.
- Enter a strong password for the user in the "Password" field or use the "Password Generator" for a secure password.
- Click the "Create User" button.

5. Add User to Database:
- Scroll down to the "Add User to Database" section.
- Select the user you just created from the "User" dropdown menu.
- Select the database you created from the "Database" dropdown menu.
- Click the "Add" button.
6. Set Privileges:
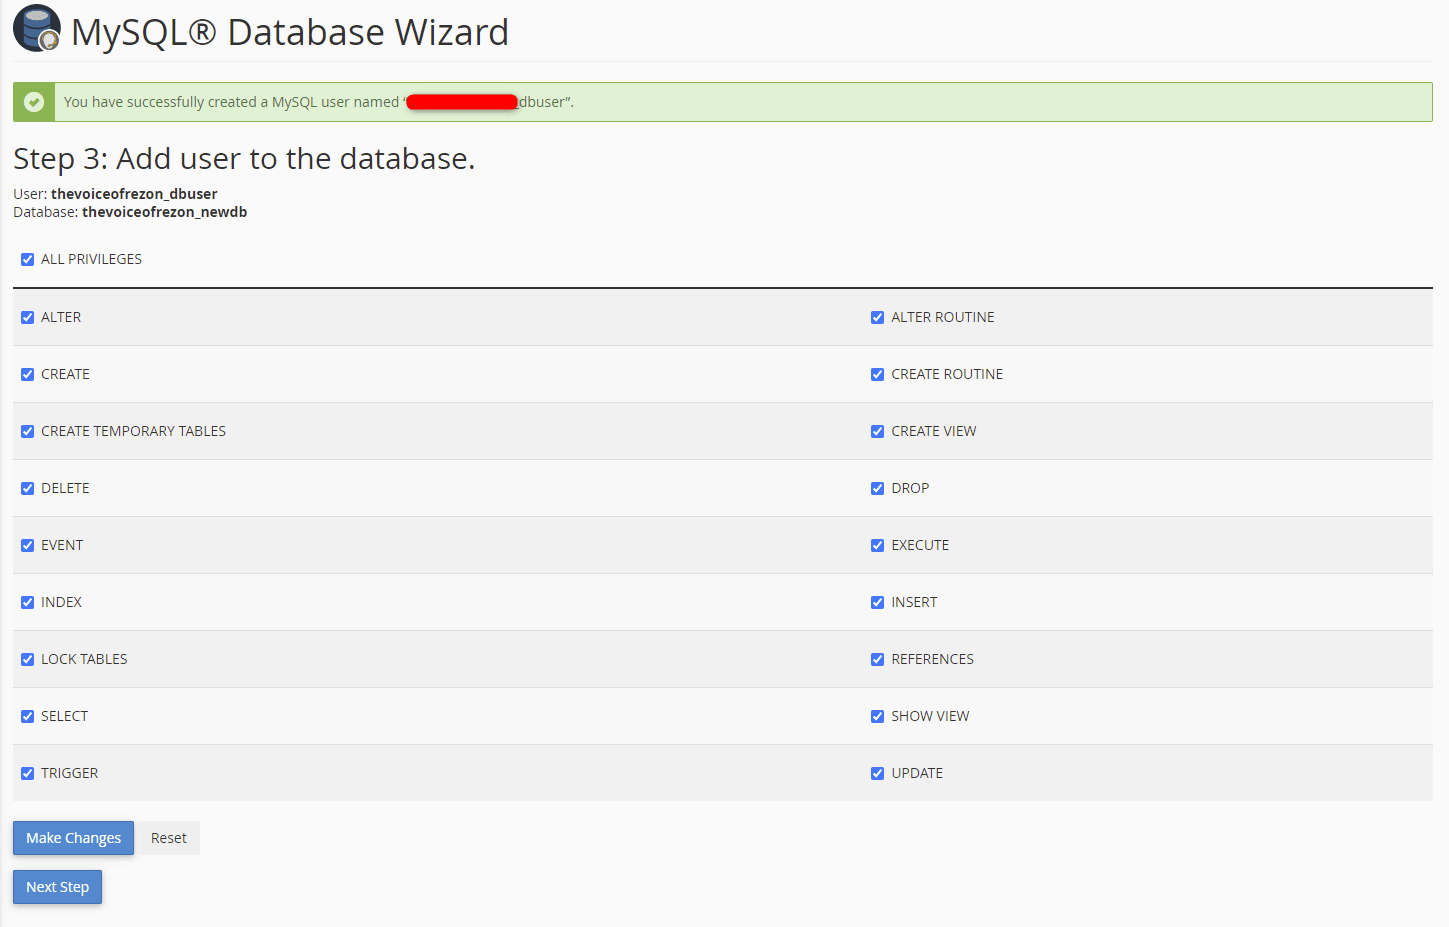
- On the next page, you'll be prompted to set privileges for the user on the database.
- Choose the appropriate privileges for the user, such as "All Privileges" to grant full access, or select specific privileges based on your needs.
- Click the "Next Step" button.

7. Return to Home:
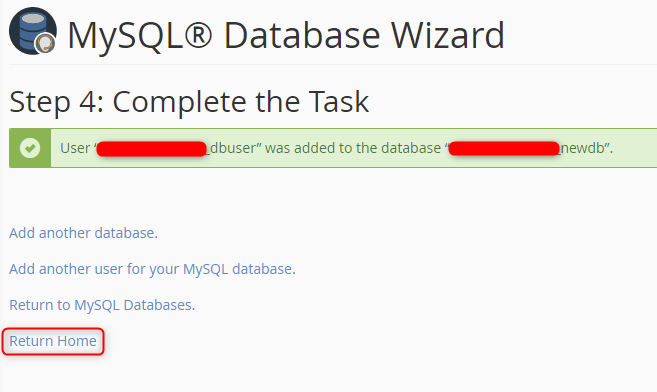
The MySQL database is created, and the new user is added. You need the database name, username, and password for connecting scripts to the database. Click Return Home to return to the cPanel home page.

Your MySQL database has been created, and you have a user with the necessary privileges to manage and use the database. Make sure to securely store the database name, username, and password for future use.

